 SHADOWNODE
SHADOWNODE
SHADOWNODE
Guides / Minecraft
Your server is provisioned the moment you order. This walkthrough follows the in-product wizard step by step — customise your world, connect in-game and invite friends.
Every plan adds a <b>Pay</b> step right after Welcome — shown further down. Once payment confirms, the wizard continues exactly as pictured.
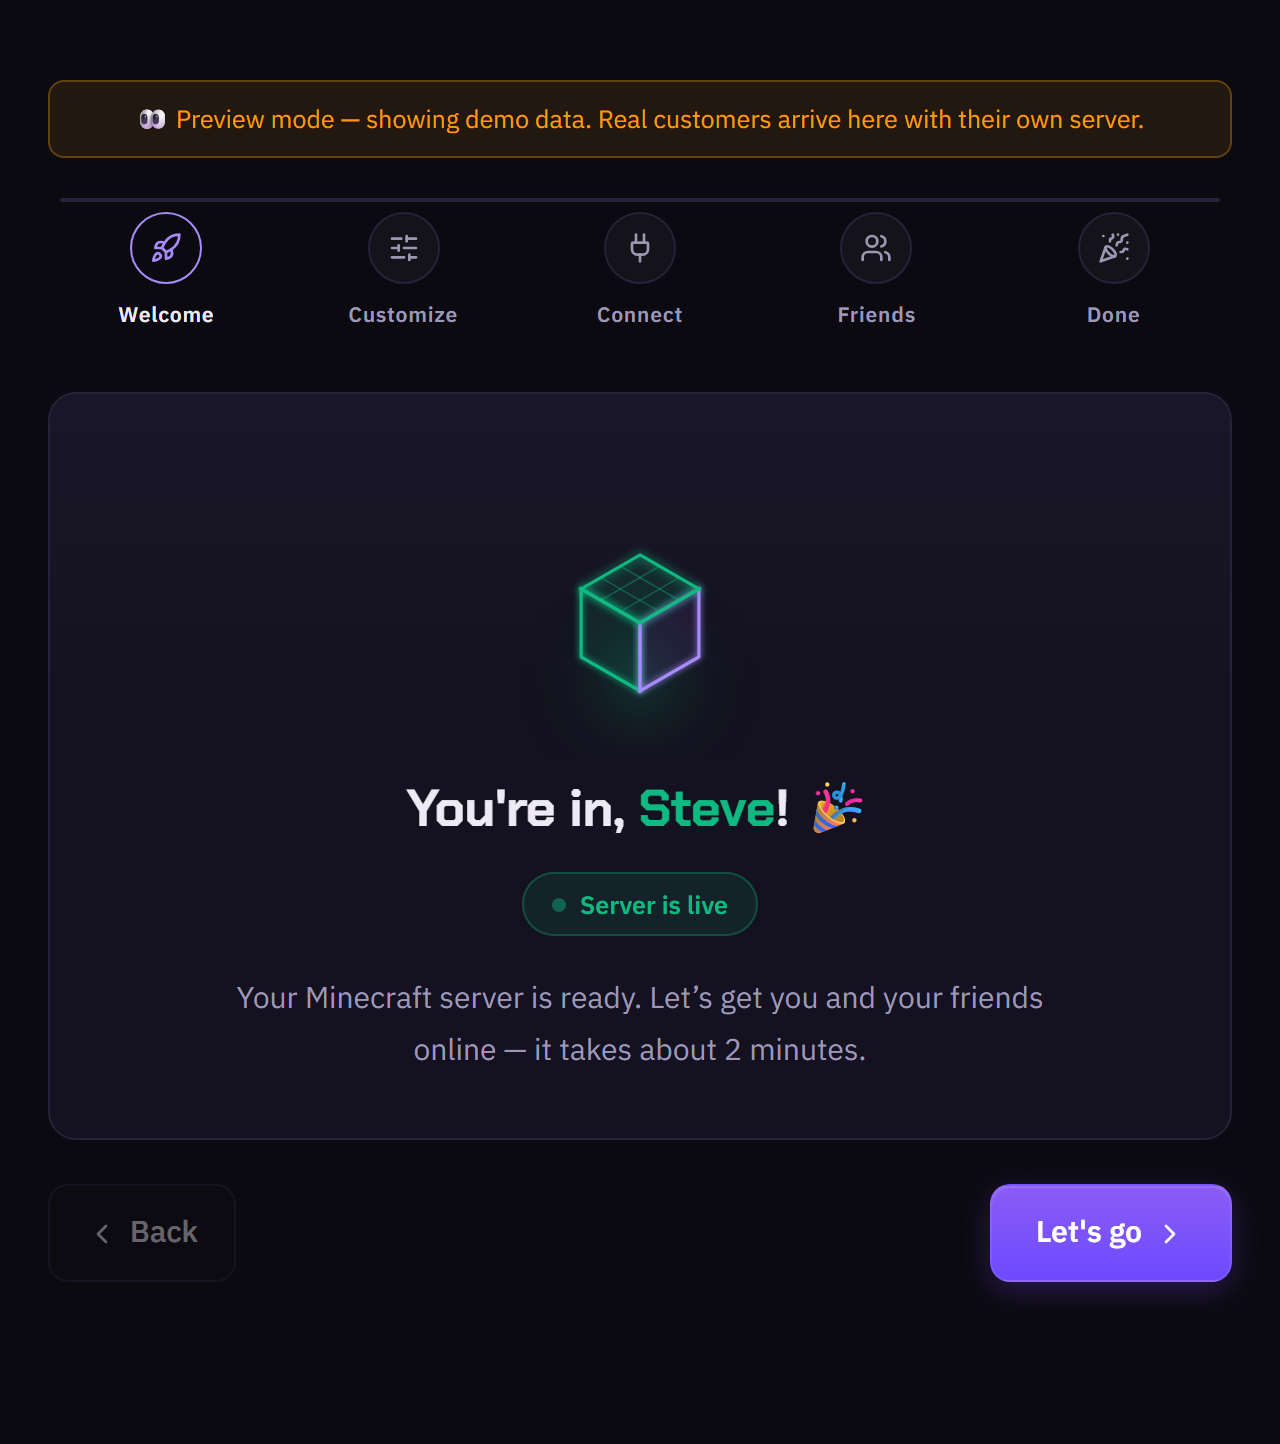
You land here right after ordering. A green “Server is live” badge means it is ready to join; while it provisions you’ll see “Setting up your server…” and everything unlocks automatically within a minute.
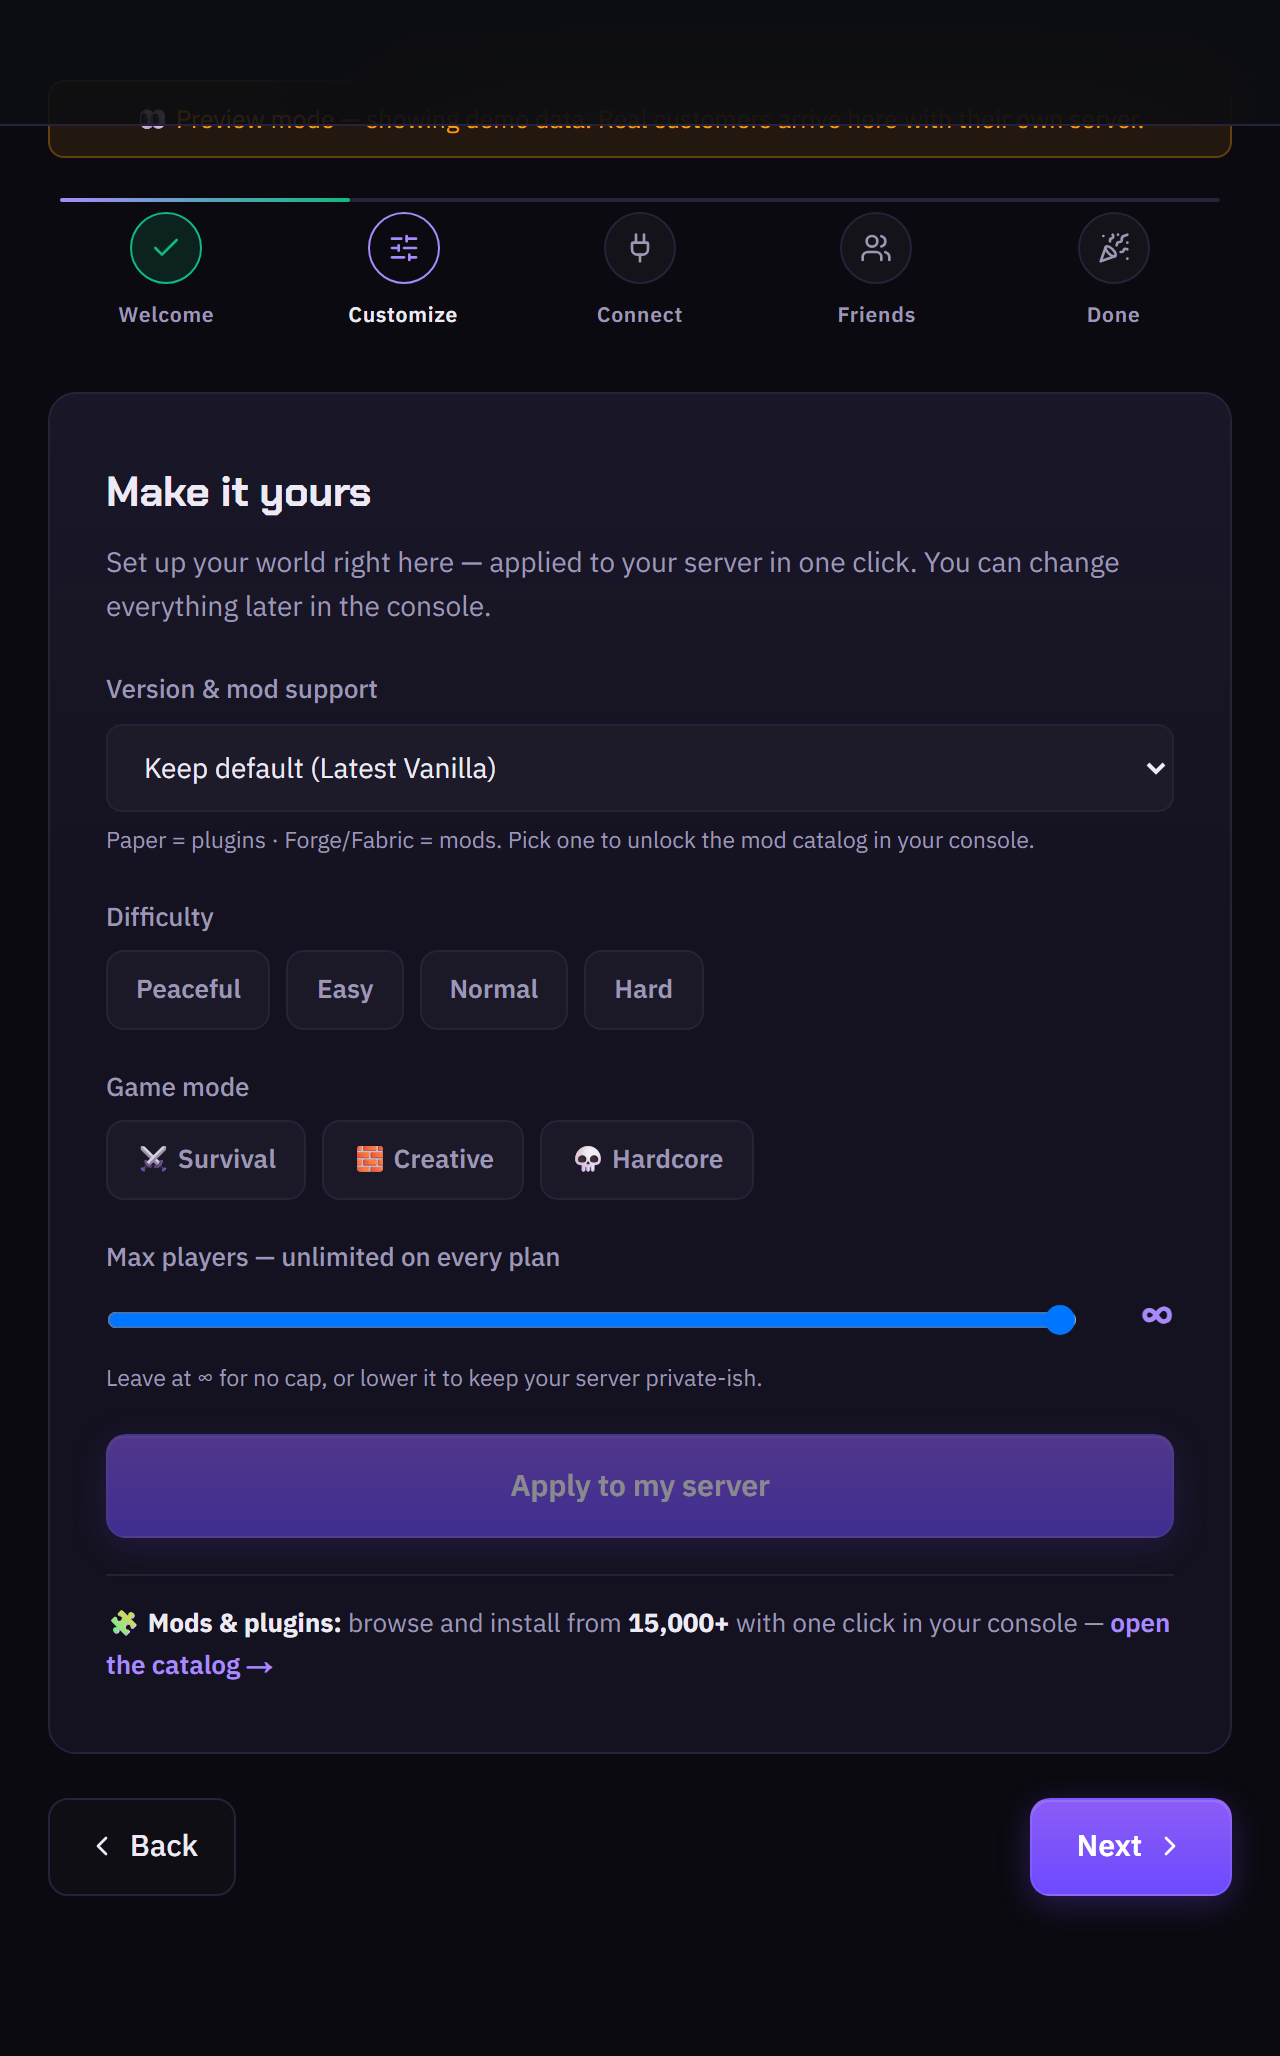
Set the version & mod support (Vanilla, Paper for plugins, Forge/Fabric for mods), difficulty, game mode and max players — applied to your server in one click. You can change all of it later in the console.
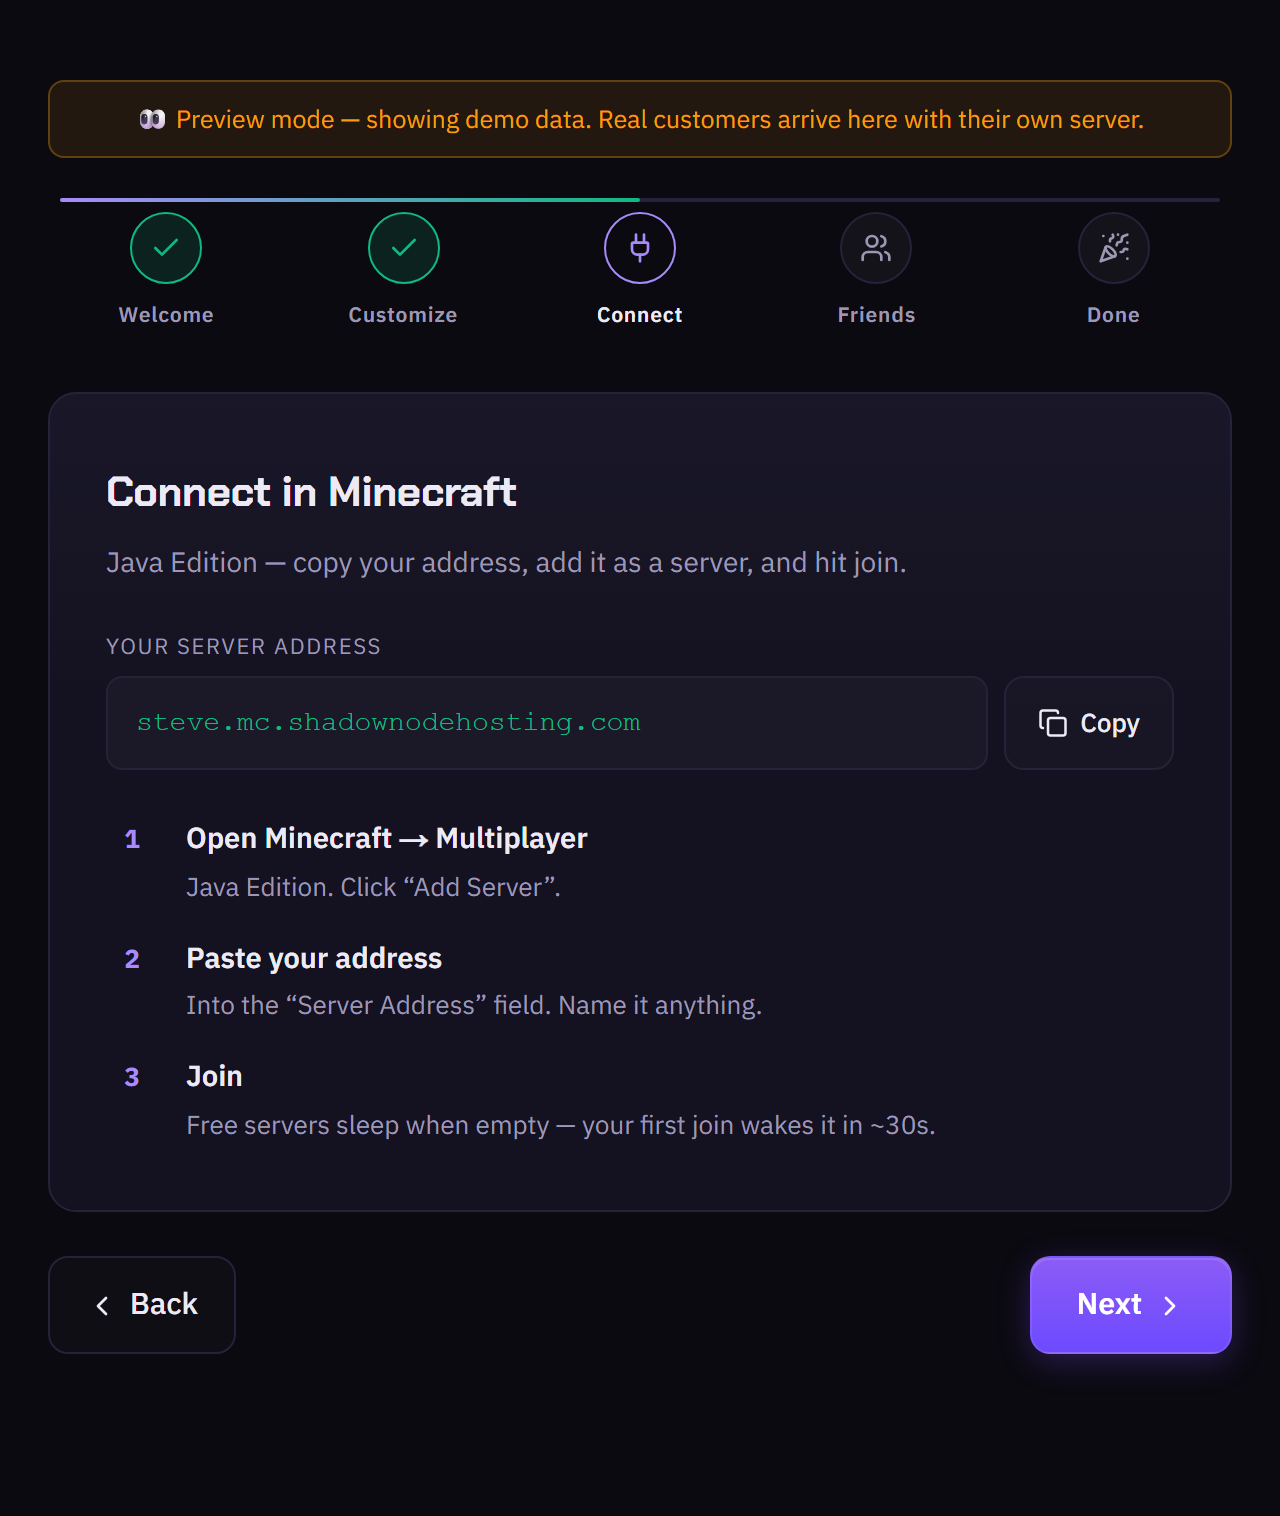
Copy your personal address, then in Java Edition go to Multiplayer → Add Server, paste it, and join. The address is one click to copy.
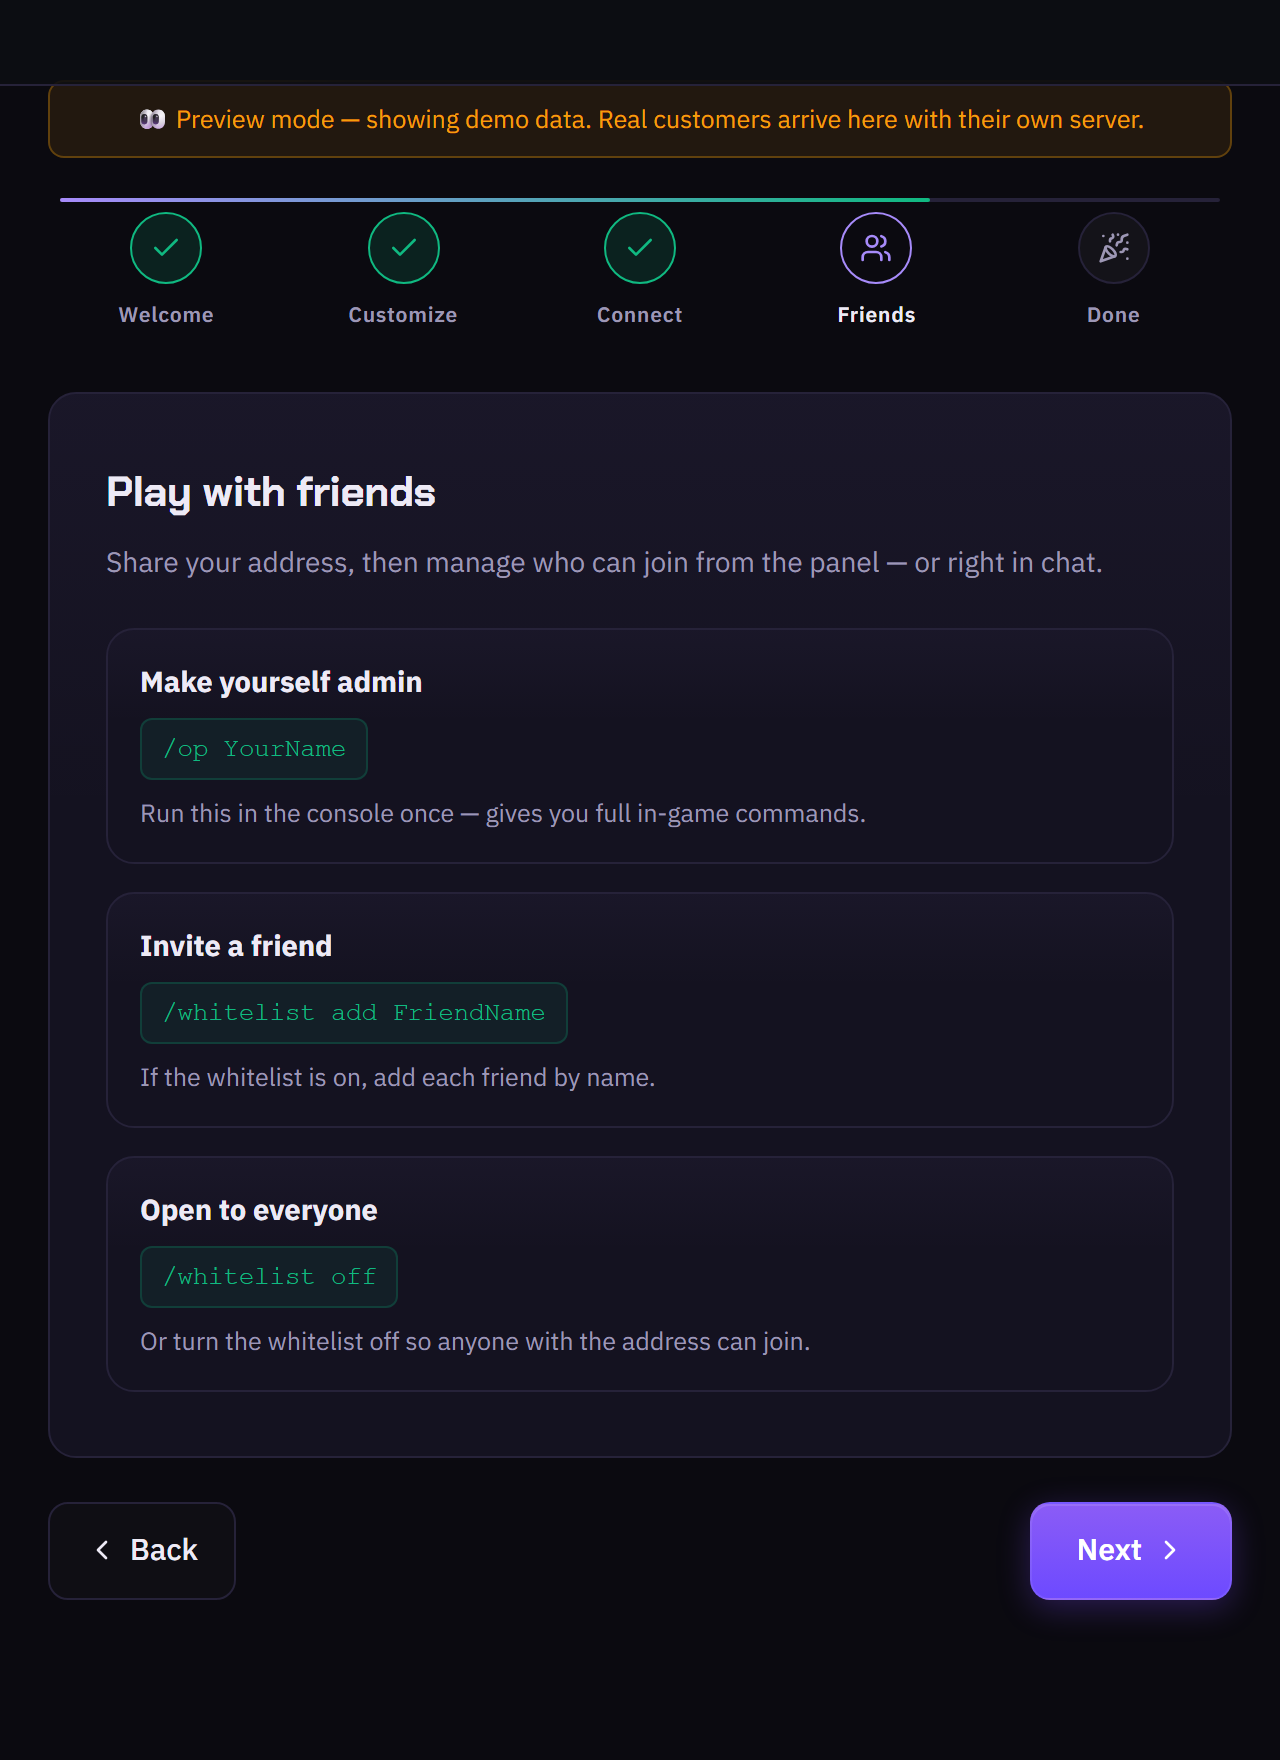
Run /op YourName once to make yourself admin, /whitelist add FriendName to invite people, or /whitelist off to open the server to anyone with the address.
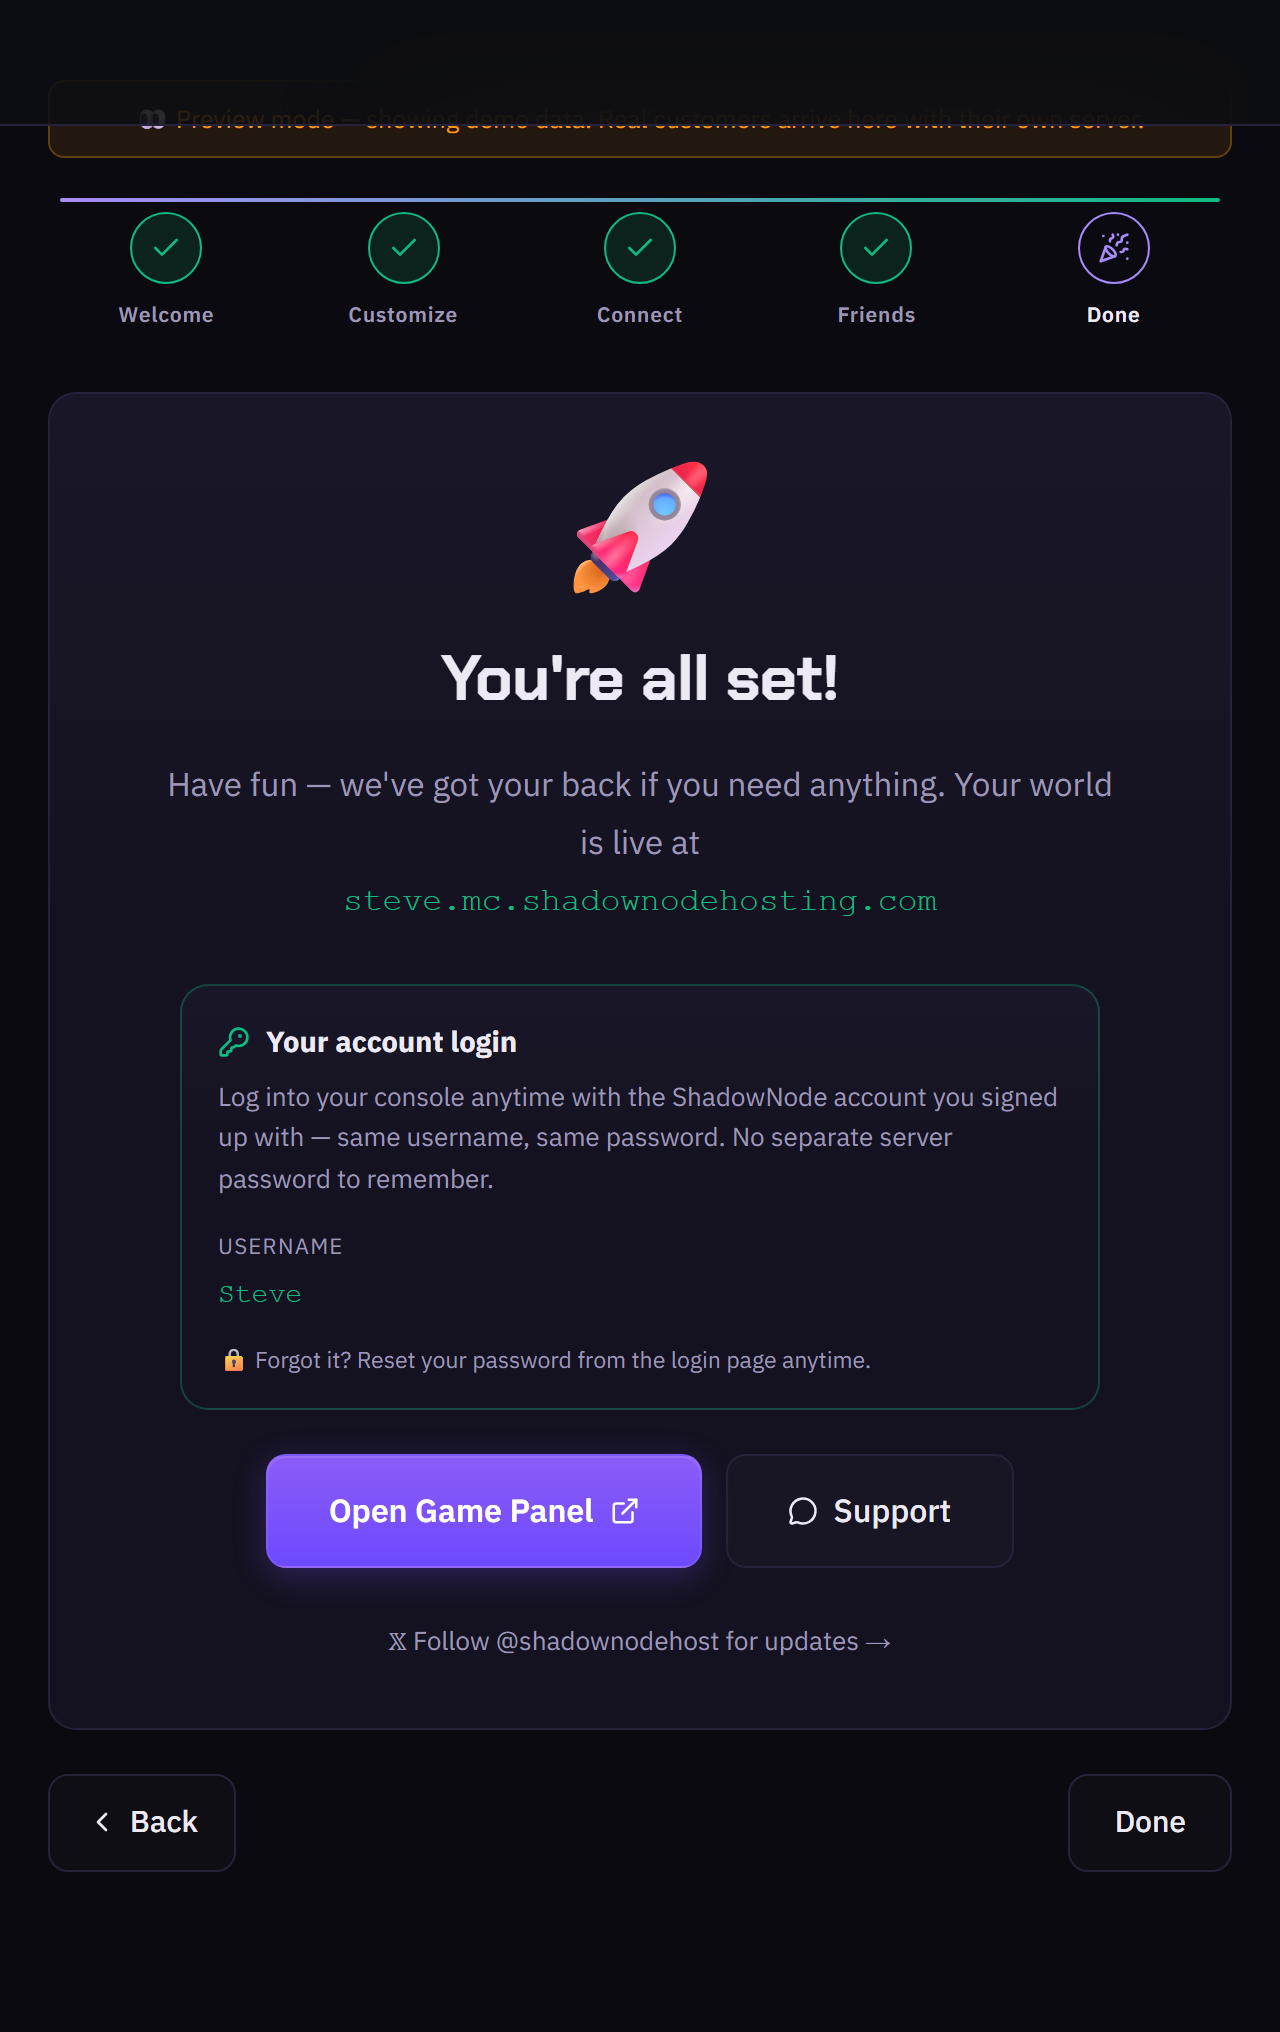
Your world is live at your address. Log into the console anytime with your ShadowNode account — same username, same password, no separate server password to remember.
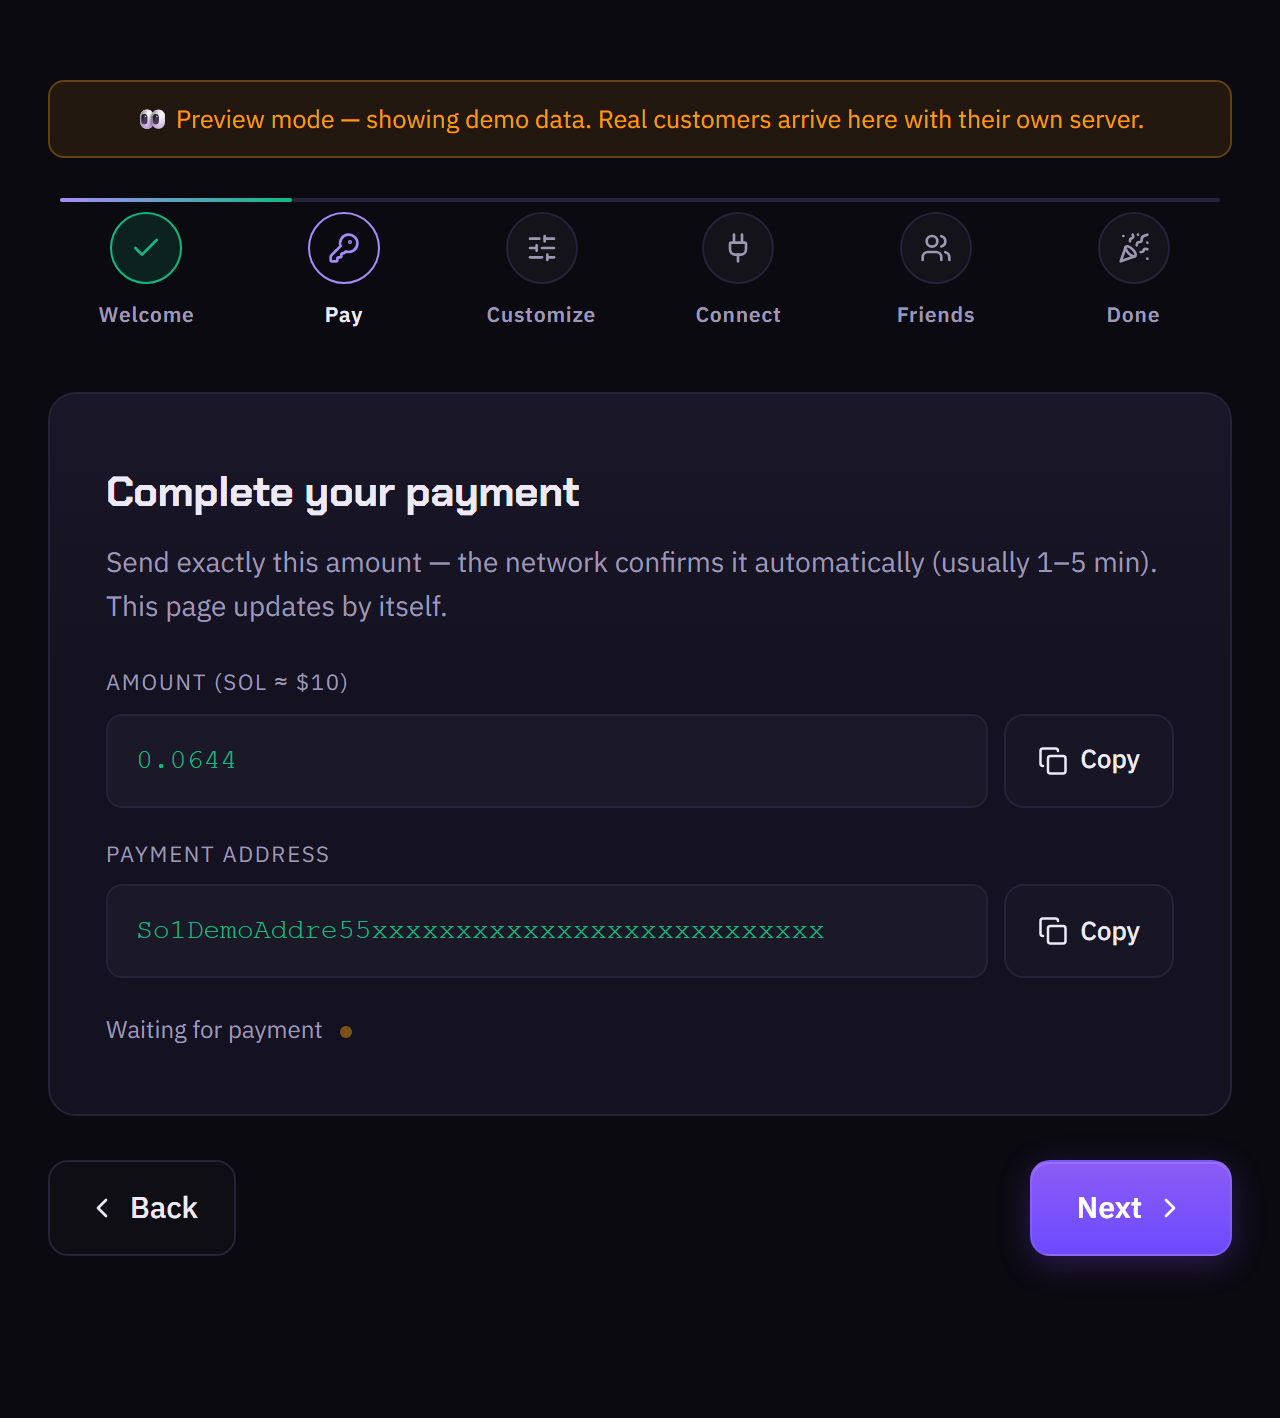
Send exactly the shown amount — the network confirms it automatically (usually 1–5 min) and the page updates by itself. Pay with BTC, ETH, SOL or Polygon, or submit a gift-card code. No account or KYC needed.